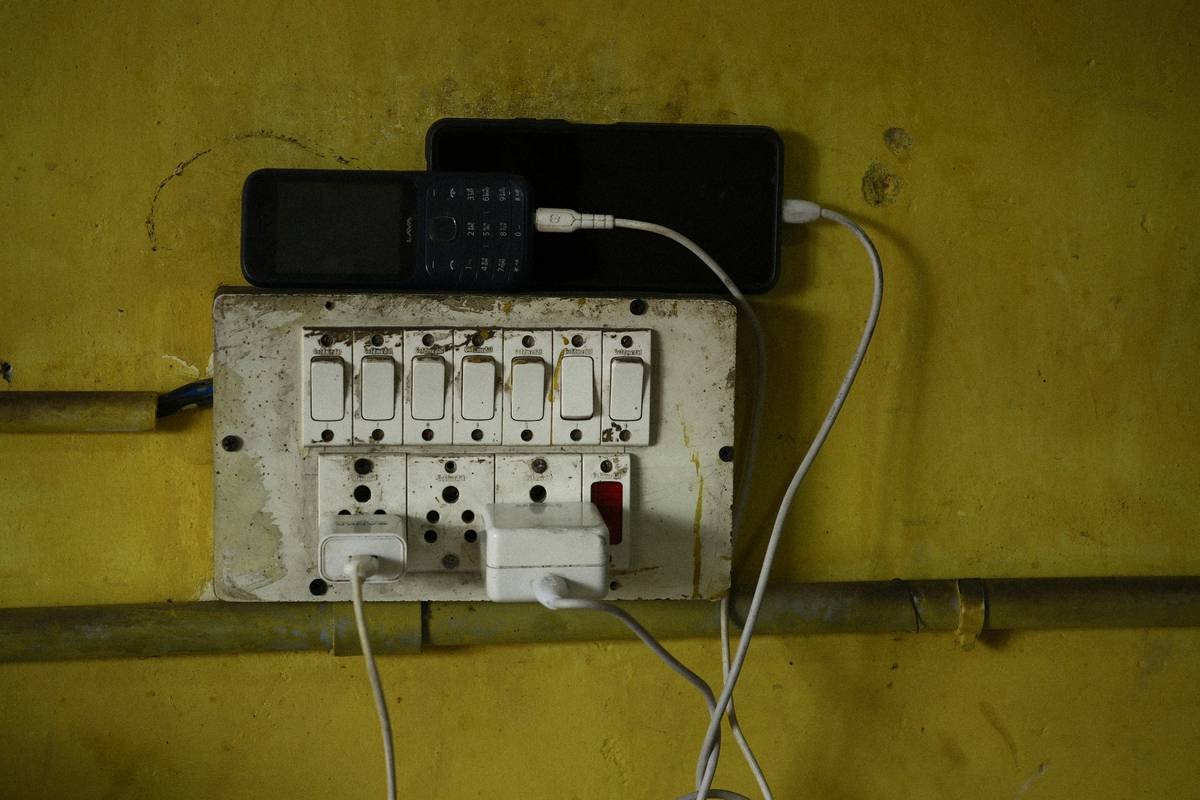
“Ever stared at a jungle of wires behind your light switch and thought, ‘Why can’t this just work without cables?’ Yeah, us too.”
Welcome to the future of hassle-free home automation—smart switches with wireless installation. If you’re here because untangling cords feels like solving a Rubik’s Cube blindfolded, you’re in luck. This guide dives deep into everything from why wireless smart switches rule the game to how you can install them yourself (yes, even if you’re not an electrician). Let’s get started.
Table of Contents
- Key Takeaways
- What Are Wireless Smart Switches?
- Step-by-Step Guide to Wireless Installation
- Best Practices for Installing Smart Switches
- Real-Life Examples of Smart Switch Success
- FAQs About Smart Switch Wireless Installation
Key Takeaways
- Wireless smart switches eliminate the need for complex wiring setups.
- You don’t always need professional help; DIY installations are possible!
- Avoid common mistakes like skipping compatibility checks or ignoring power requirements.
- Smart switches enhance convenience, energy efficiency, and security.
- Investing in quality devices ensures long-term reliability.
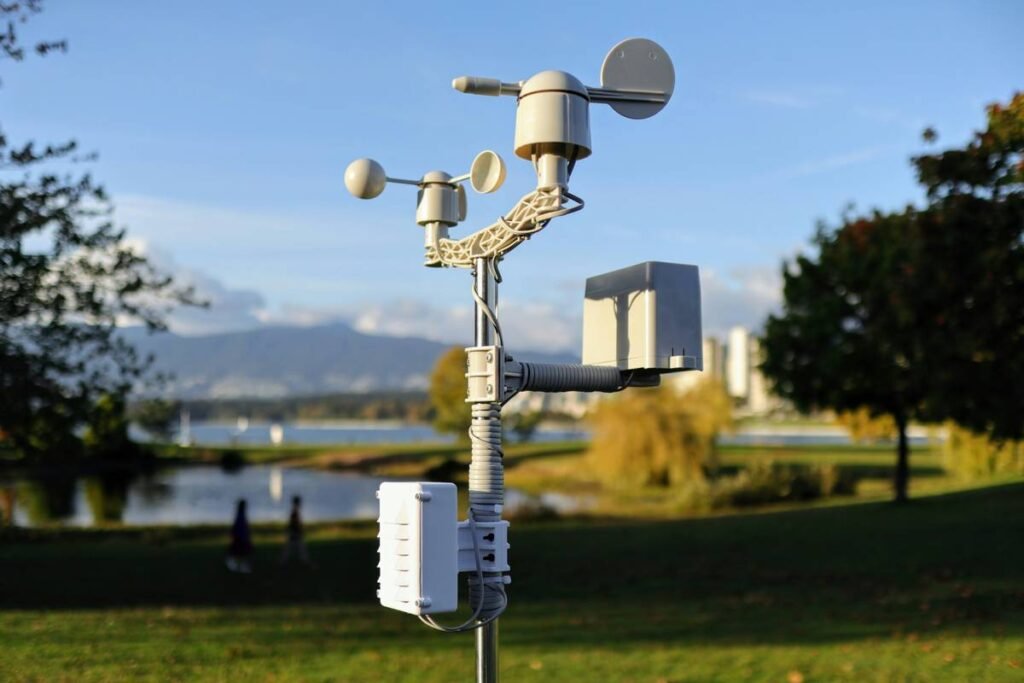
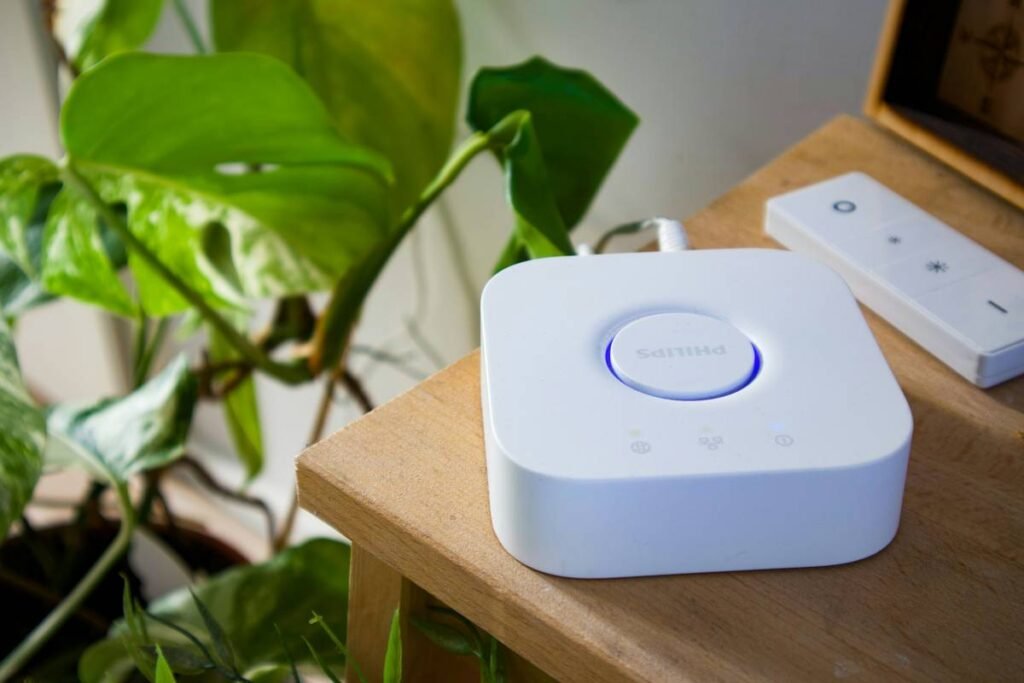
What Are Wireless Smart Switches? Why Should You Care?

If you’ve ever dealt with rewiring nightmares when upgrading wall outlets or light fixtures, imagine life without that chaos. Enter wireless smart switches. These little gadgets let you control lights, fans, and appliances remotely via Wi-Fi or Bluetooth, all without needing to tear apart walls or rewire circuits.
I once tried installing a wired dimmer switch myself—and ended up calling an electrician after accidentally tripping the circuit breaker three times (#DIYfail). Thankfully, technology has evolved since then. Now, wireless options bring simplicity and elegance to any smart home project.
The Bigger Picture: Is It Worth It?
Optimist You: “Imagine controlling every room with voice commands while sipping coffee on your couch!”
Grumpy You: “Yeah, sure…as long as my internet doesn’t crash again.”
Despite grumbles about tech hiccups, the benefits outweigh the drawbacks. From saving time during installation to reducing clutter, wireless solutions make sense—for both renters and homeowners.
Step-by-Step Guide to Wireless Installation
Step 1: Assess Your Space
Start by identifying where you want your smart switch installed. Consider these questions:
- Does the area have a stable Wi-Fi connection?
- Is there enough space near the existing outlet for device placement?
- Do nearby devices interfere with radio frequencies?
Step 2: Choose the Right Device
Not all smart switches are created equal. Look for models supporting Z-Wave, Zigbee, or Wi-Fi protocols based on your ecosystem needs (e.g., Amazon Alexa, Google Nest).
Step 3: Prepare Tools & Materials
Gather essentials like screwdrivers, mounting brackets, and the actual smart switch kit. Pro tip: Include a voltage tester to ensure safety.
Step 4: Install the Switch
- Turn off power at the main panel.
- Remove the existing faceplate.
- Follow the manufacturer’s instructions to connect the new switch.
- Test functionality before securing the final screws.
Step 5: Sync and Customize
Download the companion app, pair the device with your network, and customize settings like schedules or scenes.
Best Practices for Installing Smart Switches
- Check Compatibility: Ensure your chosen model works with your home’s electrical system.
- Stick Close to Power: Avoid placing battery-powered switches far from reliable outlets.
- Use Quality Devices: Cheaper alternatives may lack durability and integration features.
- Secure Connections: Tighten screws properly to avoid wobbly installations.
- Terrible Tip Alert: Thinking “I’ll skip reading manuals because I got this”? Spoiler: You probably don’t.
Rant Corner: My Pet Peeve with Smart Home Tech Marketing
Enough with overselling ease-of-use! Some ads claim anyone can set up smart gear in minutes—but fail to mention software glitches or firmware updates required mid-process. That glossy ad showing a flawless one-click installation? Not reality. Always dig deeper before buying.
Real-Life Examples of Smart Switch Success
Tina, a busy mom of two, transformed her kitchen lighting using smart switches. She now dims overhead lights remotely during late-night feedings—a small change that made a BIG difference. Meanwhile, tech enthusiast Raj installed motion-sensor switches outside his garage, cutting utility bills significantly. Both swear by wireless installation as their secret weapon.
FAQs About Smart Switch Wireless Installation
Q: Do I Need Professional Help for Wireless Setup?
Absolutely not—if you follow step-by-step guides carefully. However, beginners might prefer hiring someone experienced initially.
Q: Can Any Light Fixture Work With Smart Switches?
Nope. Older fixtures or incompatible bulbs might require replacements. Check specifications first.
Q: What Happens if My Wi-Fi Goes Down?
Most smart switches come with manual override buttons or local controls as backups.
Q: Are They Safe Around Kids?
Yes, certified products meet strict safety standards. Just keep curious hands away from exposed areas during installation.
Conclusion
Congrats—you’re now armed with everything needed to tackle wireless smart switch installation confidently! Remember, preparation + patience = success. And hey, even if something goes wrong, troubleshooting builds character 😉.
Here’s a parting haiku just for fun:
Wires once bound our homes,
Now free, they dance through air.
Home sweet smart home reigns.