Ever tried to dim your living room lights from bed, only to realize your smart switch setup doesn’t play nice with remote control? Yeah, that’s an adult tantrum waiting to happen.
Smart switches are revolutionary, but without proper remote control setup, they’re about as useful as a brick wall with a power button. In this guide, we’ll explore exactly how to set up your smart switches so you can control them effortlessly via remote apps, voice commands, or even physical remotes. You’ll learn the basics of connectivity, step-by-step instructions, best practices, and real-world examples of setups that work (and ones that don’t). Let’s dive in!
Table of Contents
- Introduction
- Key Takeaways
- Why Remote Control Matters
- Step-by-Step Guide to Setting Up Smart Switch Remotes
- 5 Tips for Optimizing Your Smart Switch Setup
- Real-Life Examples of Flawless Smart Switch Control
- Frequently Asked Questions About Remote Control Setup
- Conclusion
Key Takeaways
- The right remote control setup ensures seamless smart home integration.
- Compatibility between brands and devices is critical; avoid mixing incompatible ecosystems.
- Using dedicated hubs can enhance stability and range for your smart switch system.
- Test your setup thoroughly before finalizing installation to prevent headaches later.
Why Remote Control Matters
I once installed a shiny new smart switch—only to discover it required me to open three different apps just to toggle one light on. Spoiler alert: my patience didn’t last long. This kind of misconfiguration happens more often than you’d think because users skip testing their remote control setup.
Imagine controlling all your home appliances with the touch of a button—or better yet, a single voice command like “Alexa, turn off everything.” Sounds dreamy, right? But behind this magic lies careful planning and execution. Without the correct remote configuration, you risk creating unnecessary friction in your daily routine.
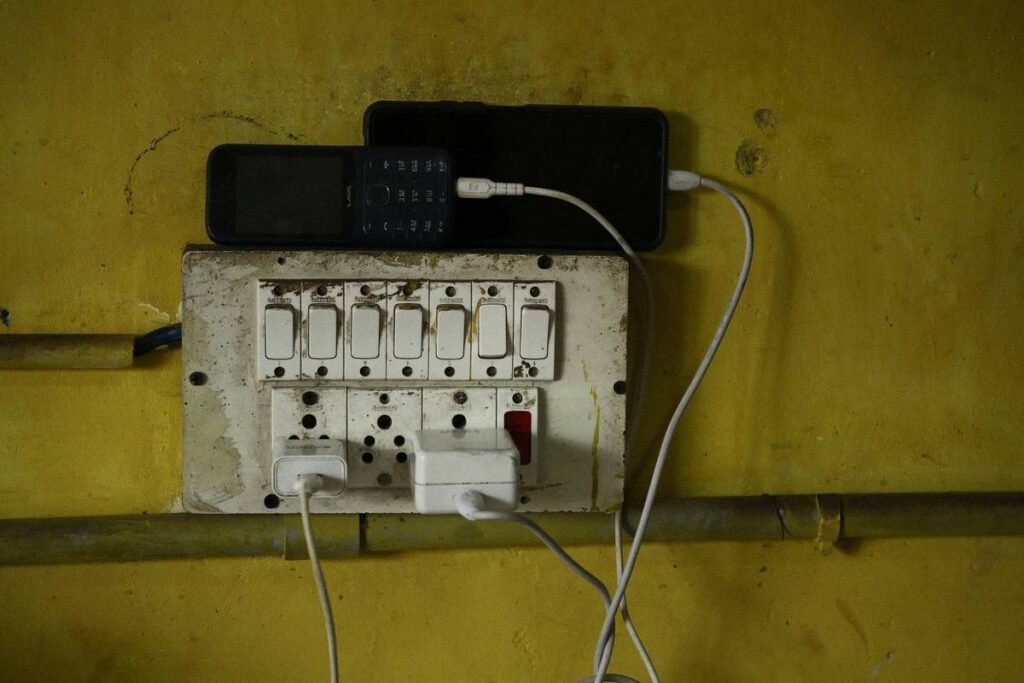
This diagram illustrates how a well-structured remote control setup creates harmony across devices, ensuring smooth communication between switches, apps, and voice assistants.
Step-by-Step Guide to Setting Up Smart Switch Remotes
Step 1: Check Compatibility Between Devices
Before buying anything, confirm whether your chosen smart switch works with your existing tech stack. For example, if you use Apple HomeKit, ensure the switch supports it. Mixing incompatible systems is like trying to fit square pegs in round holes—it simply won’t work.
Step 2: Install the Switch Properly
Hire a professional electrician unless you’re confident working with electrical wiring. Once installed, reconnect power and verify the switch operates locally (manually toggling).
Step 3: Pair the Switch with Your App/Hub
Download the manufacturer’s app, follow its pairing instructions, and assign your switch to a specific room within the app interface. Make sure Wi-Fi or Bluetooth connectivity is stable during this process.
Step 4: Integrate with Voice Assistants (Optional)
If you want hands-free control, integrate the switch with Amazon Alexa, Google Assistant, or Siri through their respective platforms. Just remember: shouting at your house isn’t always dignified, but hey, priorities.
Step 5: Test Every Functionality
Optimist You: “It works perfectly!”
Grumpy You: “Ugh, fine—but only after I restart my router twice.”
Don’t skip testing every function repeatedly until you’re confident it’s reliable.
5 Tips for Optimizing Your Smart Switch Setup
- Stick to One Ecosystem: Using products from multiple manufacturers may cause compatibility issues. Stick with brands like Lutron, Phillips Hue, or TP-Link.
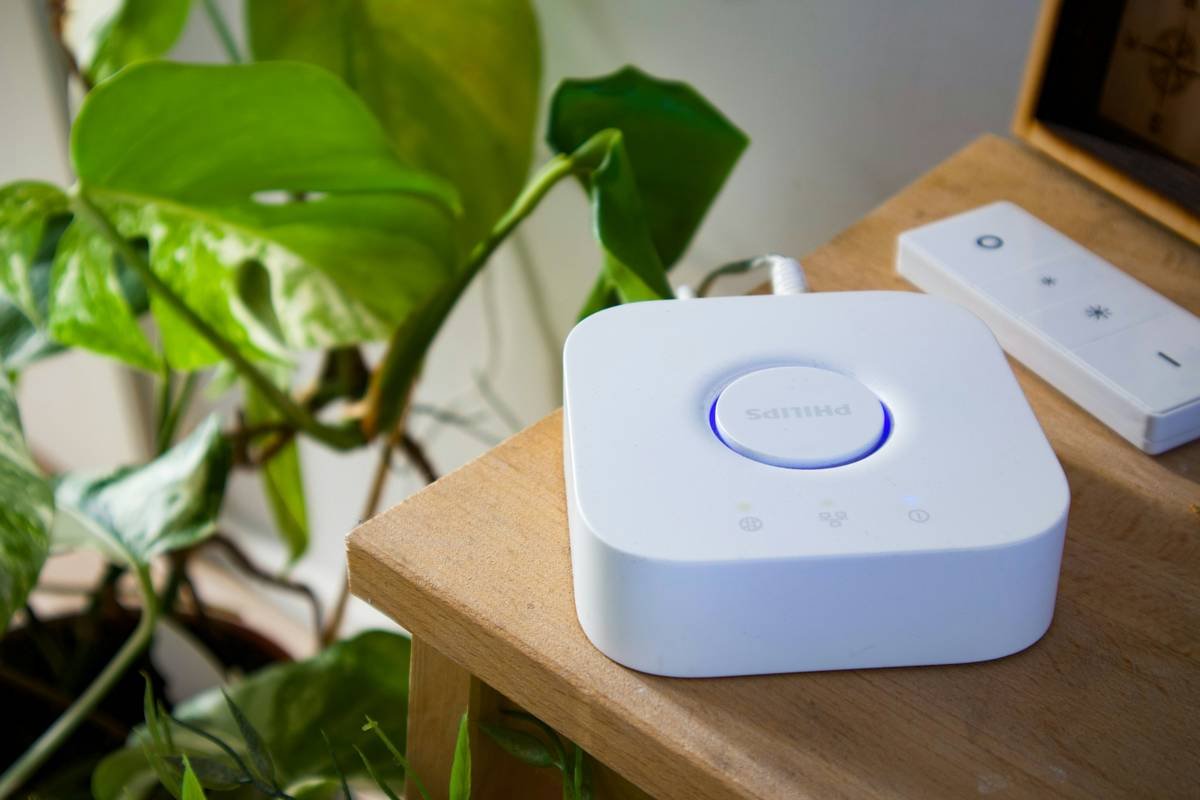
- Invest in a Hub: Devices like Samsung SmartThings increase reliability by acting as intermediaries between your switch and app.
- Label Everything: Name each switch clearly in your app—no one wants to guess which “Switch #3” controls what.
- Keep Software Updated: Firmware updates improve security and performance. Ignore these at your peril.
- Avoid Overloading Circuits: Don’t plug too many high-power devices into circuits controlled by smart switches—it could lead to failures.
Real-Life Examples of Flawless Smart Switch Control
Case Study 1: Sarah’s Single-App Solution
Sarah combined her Philips Hue smart bulbs and Leviton smart switches under one app using HomeKit. Now she manages her entire home’s lighting from her iPhone while sipping coffee on lazy Sundays.
Case Study 2: Mark’s Multi-Room Mastery
Mark used Z-Wave technology alongside a central hub to link his smart switches. He automates scenes where turning on bedroom lights triggers hallway illumination—he calls it “lazy man’s feng shui.”
Frequently Asked Questions About Remote Control Setup
Why won’t my smart switch connect to my phone?
Your phone might have weak Wi-Fi/Bluetooth signal, or the app firmware needs updating. Restart both devices, then try again.
Can I use a universal remote with smart switches?
Nope. Most universal remotes aren’t designed for smart devices. Stick with brand-specific remotes or apps.
Is a hub necessary for my smart switch remote control?
Not always, but hubs significantly reduce latency and extend wireless range. Think of them as Wi-Fi steroids for smart homes.
Conclusion
In summary, mastering remote control setup for smart switches boils down to understanding compatibility, following precise steps, and optimizing configurations. If done correctly, you gain effortless control over your environment. But honestly, who hasn’t spent hours troubleshooting why Alexa refuses to dim the guest bathroom light? It’s okay—we’ve all been there.
Remember, building your perfect smart home is half sweat, half swearing—and maybe a splash of satisfaction when the light finally turns off remotely.
“Like a Tamagotchi, your smart home craves daily attention.” — Ancient Proverb